Freeview Tutorial
|
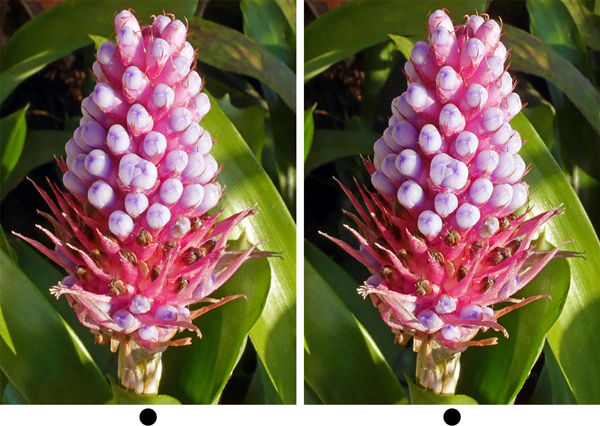
Parallel viewing places the right-eye image in front of the right eye, and left-eye image in front of the left eye. Try it with the ĹPopcorn Treeĺ image above.
By staring straight Ĺthroughĺ the image, focusing on a point farther away, beyond the two images, you can merge the image into 3-D. You might try moving the book or use a farther object to focus on if you're having trouble. If you still canĺt get it, try bringing the page right up to your nose, and relax your eyes as if you are looking through it across the room, then move the book away from your face until you see the three images. You can use the dots to help you allign them.
|
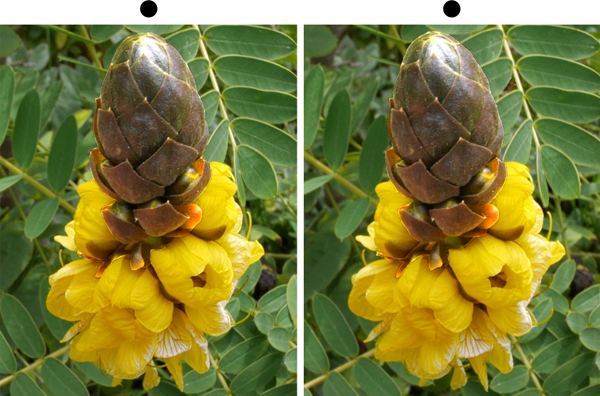
Cross-eyed viewing involves placing the left-eye image on the right side, and the right-eye image on the left side. Try it with the ĹPartaitĺ image below. Cross your eyes as if you are looking at a point halfway between you and the images. One approach is to look at the image pair and cross your eyes too much, then as your eyes un-cross and shift back to normal, try to find and hold the Ĺfusionĺ point. Another tip is to hold a fingertip 6 inches in front of your nose and hold the book 18 inches away. Focus on your fingertip, but Ĺseeĺ the image behind it as well. While staring at your finger the image will Ĺdoubleĺ (notice if you shift your gaze to the image, you finger will Ĺdoubleĺ instead). It might help to move your head or fingertip a little closer or farther until you see 3 whole images.
|
|
|
The images inside this book can be seen in 3-D two ways: "anaglyph", where colored glasses reveal the 3-D effect, and "free-viewing", in which an image is seen in 3-D without the aid of lenses, filters, or anything else. Free-viewing is an ability that some people come by easily, while others have to learn & practice it, but it can be done! When learning how to do this it helps to relax and be patient, and then free-viewing will occur more easily & naturally every time. There are two ways to free-view: "parallel" and "cross-eyed". With either method, itĺs important to keep your head level with the image. You can use the two dots associated with these images to help align them. Relax your gaze and watch for the 2 images to become 3, all the same size, and hold there. The middle image will be in 3-D. If you'd like more practice with freeviewing, click here for a tutorial with more images.
|
||